登录页设计:支持响应式布局
友情提示 : 推荐使用谷歌浏览器来阅读本专栏,其他浏览器可能存在兼容性问题。
本章节正式开始开发第一个功能:登录模块。涉及到前端页面、以及后台登录接口的开发工作,废话不多说,本小节中,小哈就先带着大家搞定一个响应式布局(支持 PC 、移动端)的登录页面。
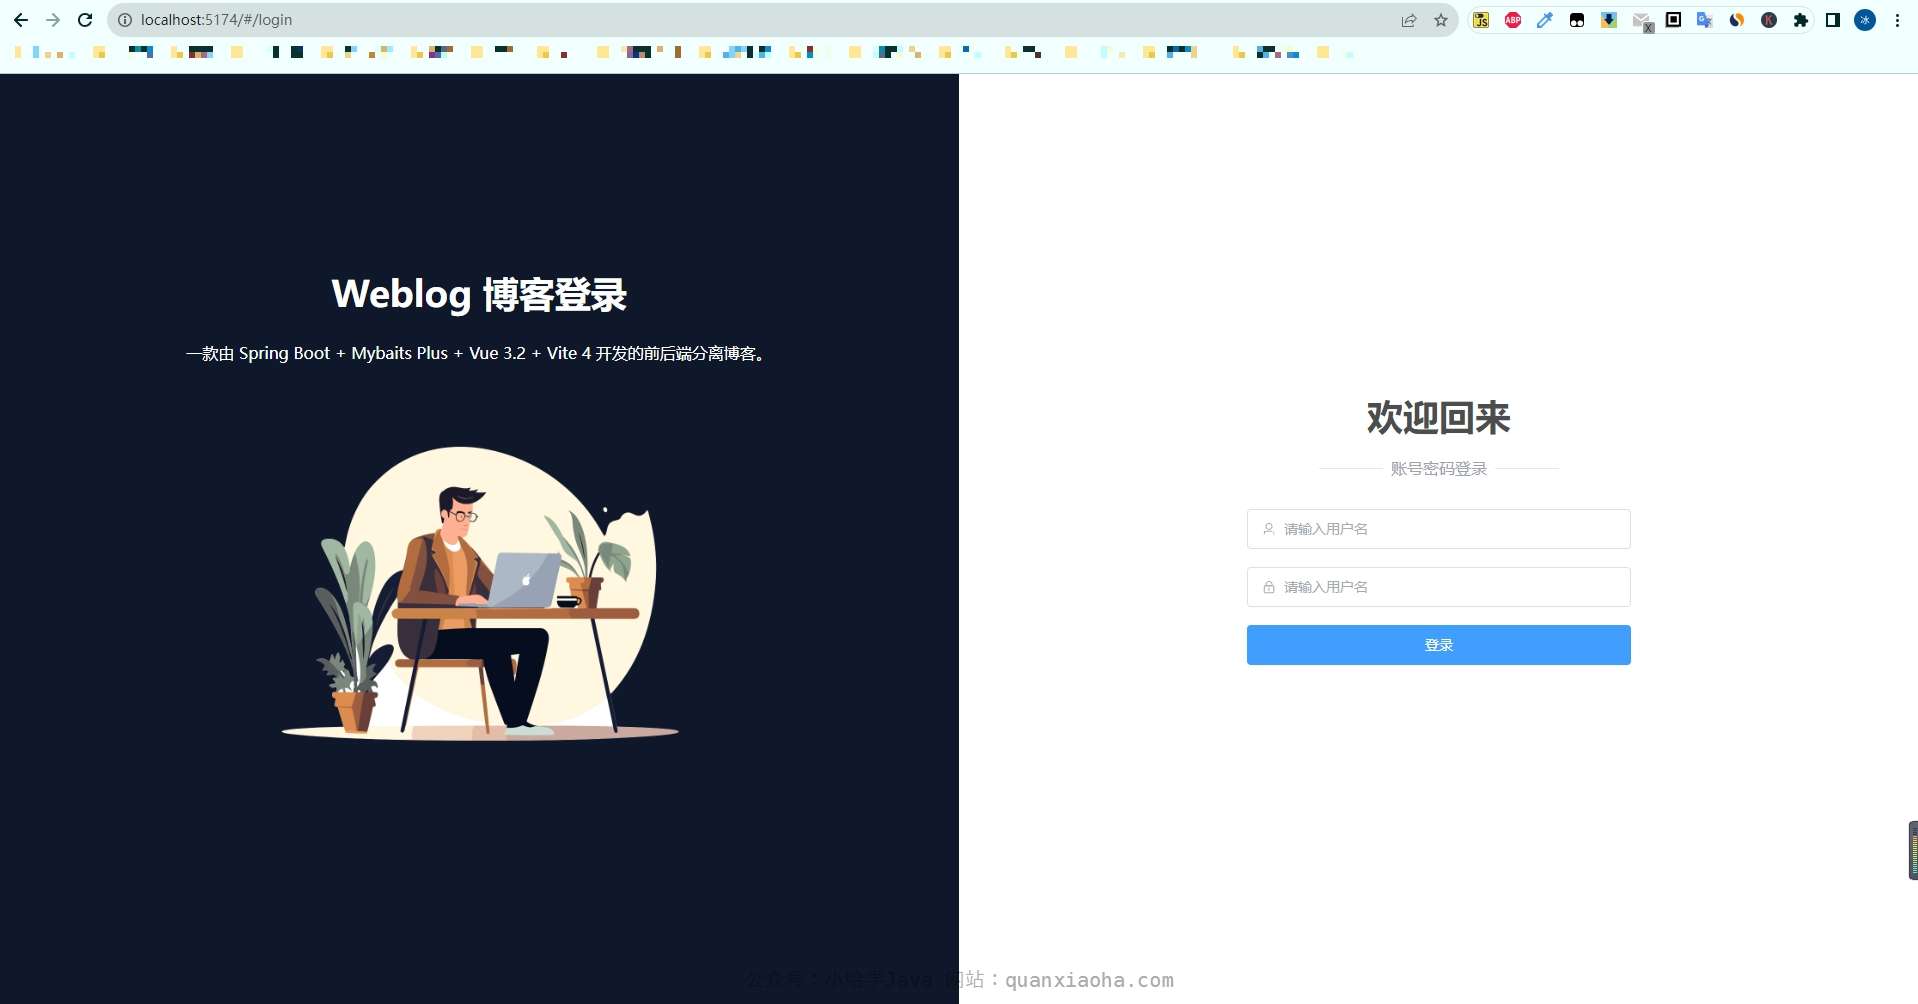
先上最终效果图
开始动手
基本布局
首先,我们通过 Tailwind 的 grid 网格布局,实现一个登录页面的基本骨架,分为左边栏和右边栏,代码如下:
<template>
	<!-- 使用 grid 网格布局,并指定列数为 2,高度占满全屏 -->
    <div class="grid grid-cols-2 h-screen">
	    <!-- 默认先适配移动端,占两列,order 用于指定排列顺序,md 用于适配非移动端(PC 端);背景色为黑色 -->
        <div class="col-span-2 order-2 p-10 md:col-span-1 md:order-1 bg-black">
                左边栏
        </div>
        <div class="col-span-2 order-1 md:col-span-1 md:order-2 bg-white">
                右边栏
        </div>
    </div>
</template>
- 上述代码中,先指定了父级
div为grid网格布局,并指定列数为 2,高度占满全屏; - 然后对左右边栏,设置了占 2 列,当占满父级列数时,会自动换行,上下布局,这么做是为了适配移动端。然后通过
md来单独配置 PC 端的展示规则,各占 1 列,呈左右布局。order用来指定排序规则; bg-xxx用于指定背景色;
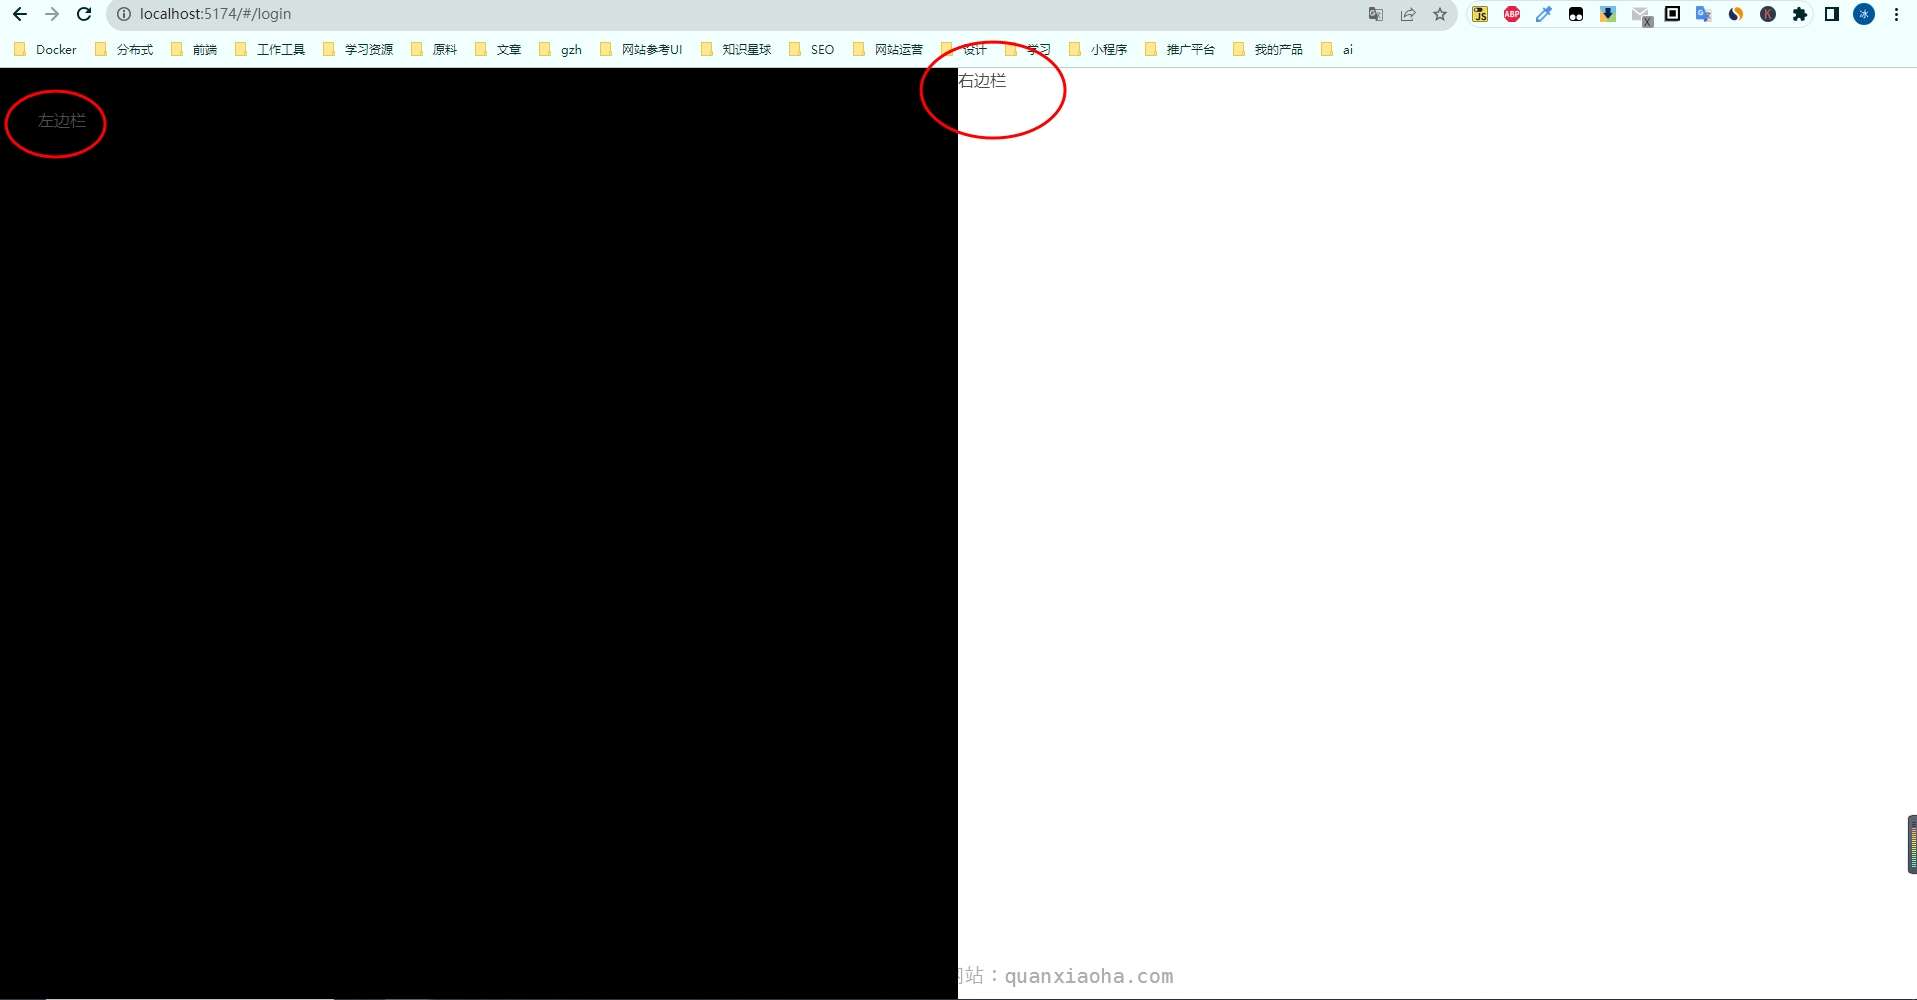
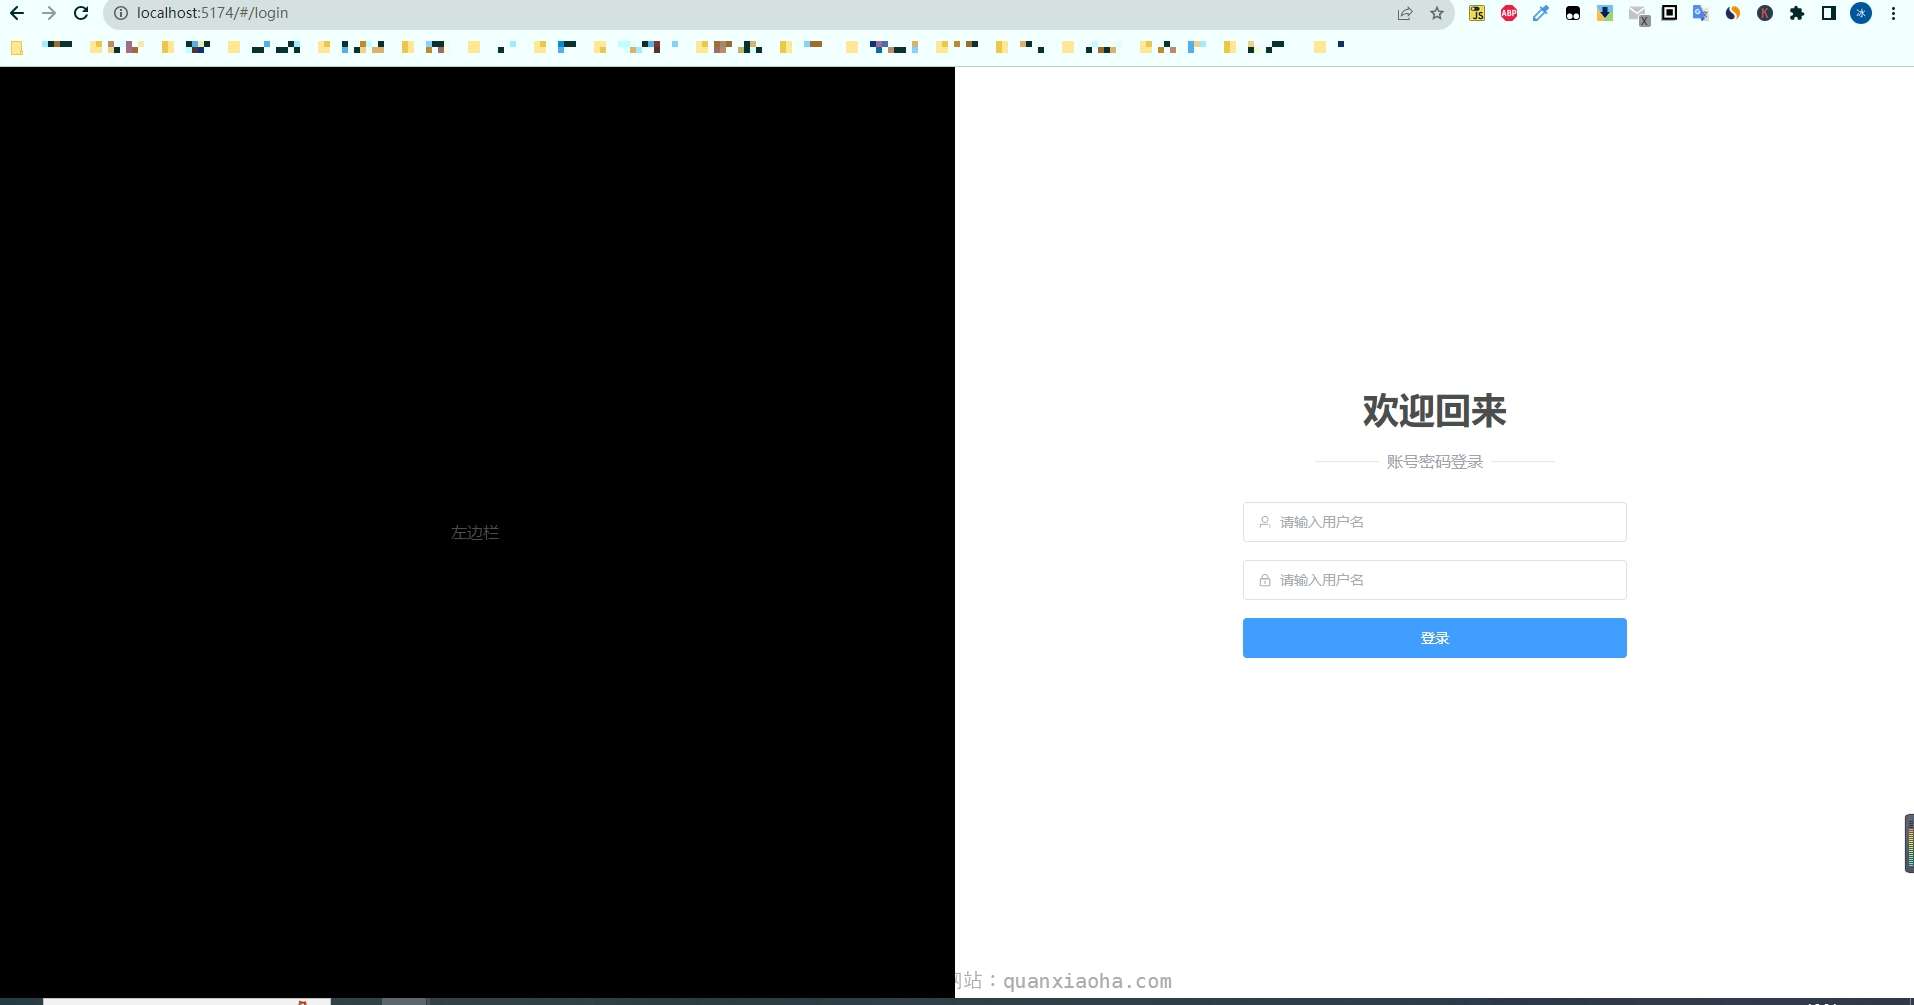
上面代码,展示效果如下:
达到了我们的基本要求。左右布局,各占一半。
内容居中
我们还需要内容居中显示,修改代码如下:
<template>
    <div class="grid grid-cols-2 h-screen">
        <div class="col-span-2 order-2 md:col-span-1 md:order-1 bg-black">
        	<!-- 指定为 flex 布局,并设置为屏幕垂直水平居中,高度为 100% -->
            <div class="flex justify-center items-center h-full">
                左边栏
            </div>
        </div>
        <div class="col-span-2 order-1 md:col-span-1 md:order-2 bg-white">
            <div class="flex justify-center items-center h-full">
                右边栏
            </div>
        </div>
    </div>
</template>
上述代码中,我们将 左边栏、右边栏 再包了一层 div, 同时指定为 flex 布局,并通过 justify-center items-center 设置为屏幕垂直水平居中,h-full 指定高度为 100%。
右边栏登录表单
Element Plus 图标库安装
在写登录表单之前,还需要先安装一下 Element Plus 官方提供的图标库,因为使用 Element Plus 输入框时,如果需要添加前缀图标,需要用到:
在命令行中执行如下安装命令:
npm install @element-plus/icons-vue
注册图标
编辑 main.js 文件,注册图标:
// 导入 Element Plus 图标
import * as ElementPlusIconsVue from '@element-plus/icons-vue'

// 省略 ...

// 引入图标
for (const [key, component] of Object.entries(ElementPlusIconsVue)) {
    app.component(key, component)
}

// 省略 ...
注册完成后,我们就可以正常使用图标了。
设计登录表单
登录表单代码如下:
<template>
    <div class="grid grid-cols-2 h-screen">
        <div class="col-span-2 order-2 md:col-span-1 md:order-1 bg-black">
            <div class="flex justify-center items-center h-full">
                左边栏
            </div>
        </div>
        <div class="col-span-2 order-1 md:col-span-1 md:order-2 bg-white">
        	<!-- flex-col 用于指定子元素垂直排列 -->
            <div class="flex justify-center items-center h-full flex-col">
                <h1>欢迎回来</h1>
                <div>
                    账号密码登录
                </div>
                <!-- 引入 Element Plus 表单组件,移动端设置宽度为 5/6,PC 端设置为 2/5 -->
                <el-form class="w-5/6 md:w-2/5">
                    <el-form-item>
                    	<!-- 输入框组件 -->
                        <el-input size="large" placeholder="请输入用户名" :prefix-icon="User" clearable/>
                    </el-form-item>
                    <el-form-item>
	                    <!-- 密码框组件 -->
                        <el-input size="large" type="password" placeholder="请输入密码" :prefix-icon="Lock" clearable/>
                    </el-form-item>
                    <el-form-item>
                    	<!-- 登录按钮,宽度设置为 100% -->
                        <el-button class="w-full" size="large" type="primary">登录</el-button>
                    </el-form-item>
                </el-form>

            </div>
        </div>
    </div>
</template>

<script setup>
// 引入 Element Plus 中的用户、锁图标
import { User, Lock } from '@element-plus/icons-vue'
</script>
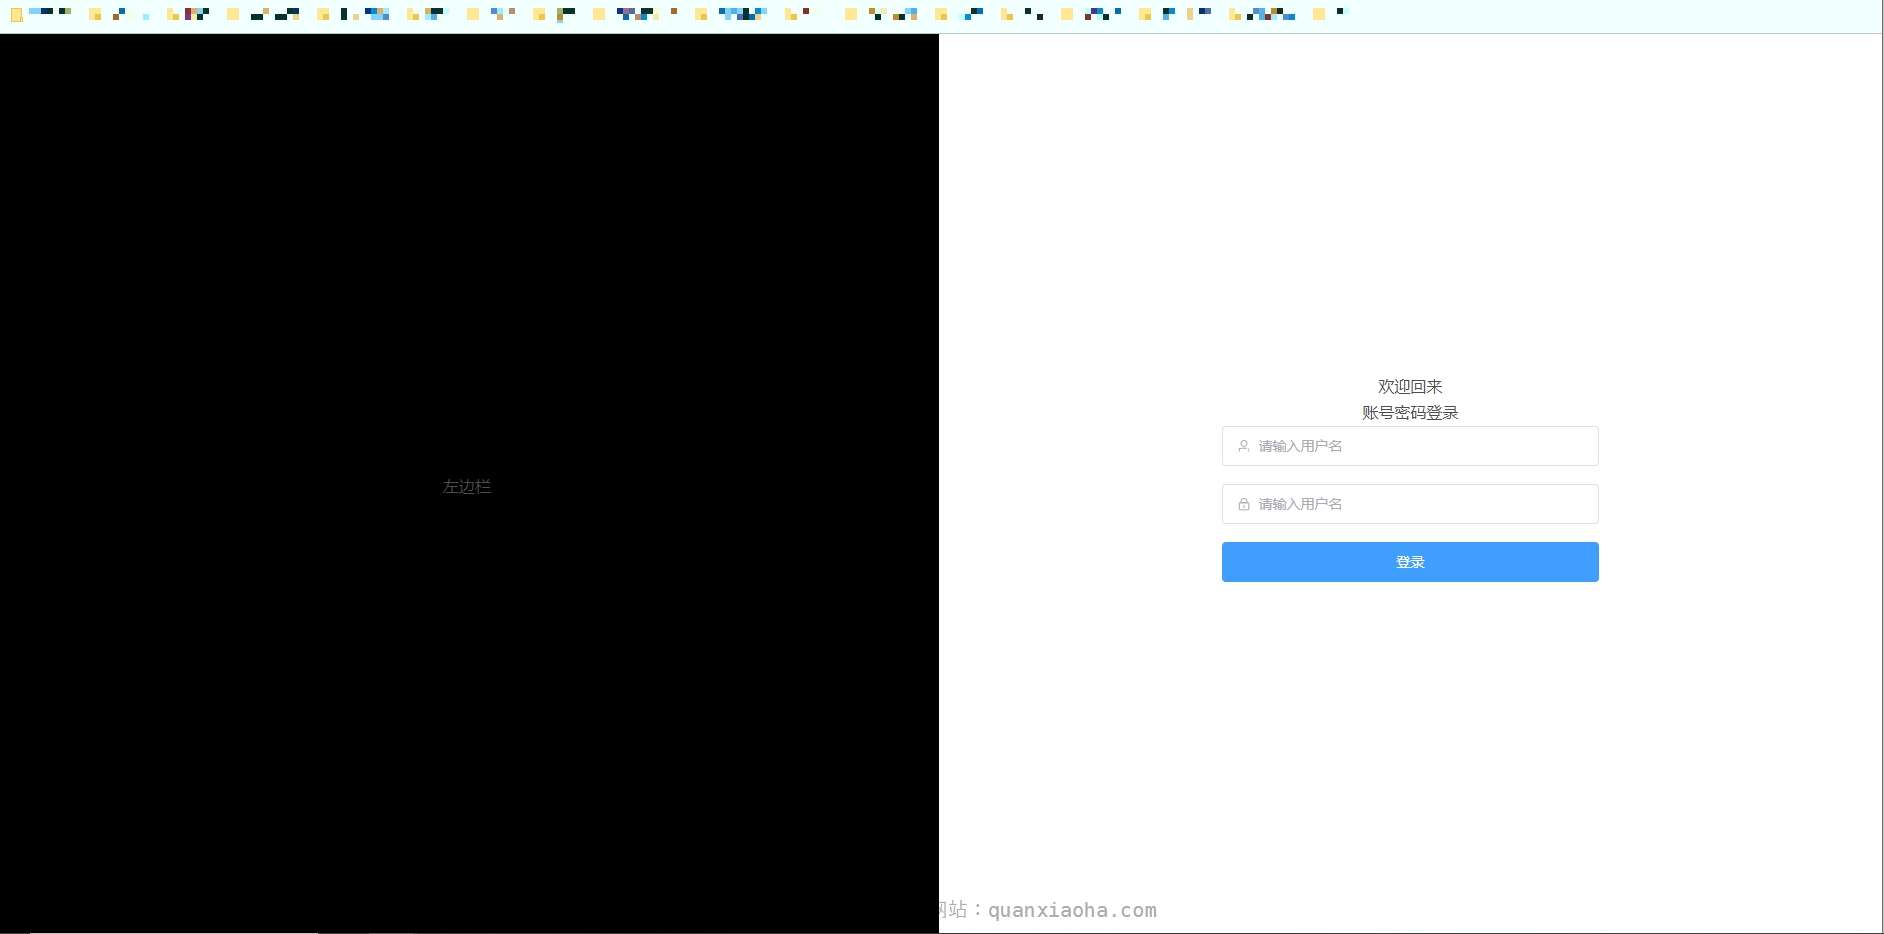
上述代码中,我们通过 flex-col 将子元素指定为垂直排列,并引入了 Element Plus 表单组件 , 并添加了两个输入框和一个登录按钮,相关组件可访问 Element Plus 官网来查看具体用法示例。此时效果图如下:
登录表单的样式就搞定了,这个时候,你会发现输入框还无法输入内容,暂时先不用管,因为还没给它添加 v-model 指令双向绑定,本小节先把静态页面整好,后面再完善这块。
解决样式冲突问题
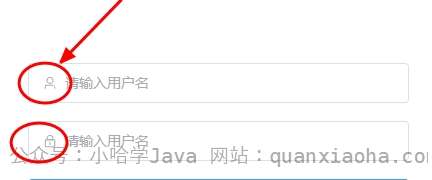
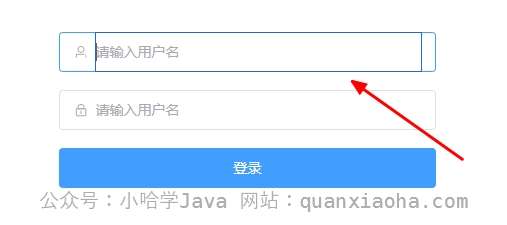
当访问登录页时,若发现 Element Plus 输入框组件的样式混含了 flowbite 的样式,如下图所示:
只需在 main.css 文件中添加如下代码,重写一下相关样式即可恢复正常·:
[type='text']:focus, [type='email']:focus, [type='url']:focus, [type='password']:focus, [type='number']:focus, [type='date']:focus, [type='datetime-local']:focus, [type='month']:focus, [type='search']:focus, [type='tel']:focus, [type='time']:focus, [type='week']:focus, [multiple]:focus, textarea:focus, select:focus {
  box-shadow: 0 0 0 1px transparent inset!important;
}
表单上方文字美化
再来美化一下登录表单上面的文字:
// 省略 ...
<!-- 大标题,设置字体粗细、大小、下边距 -->
<h1 class="font-bold text-4xl mb-5">欢迎回来</h1>
<!-- 设置 flex 布局,内容垂直水平居中,文字颜色,以及子内容水平方向 x 轴间距 -->
<div class="flex items-center justify-center mb-7 text-gray-400 space-x-2">
    <!-- 左边横线,高度为 1px, 宽度为 16,背景色设置 -->
    <span class="h-[1px] w-16 bg-gray-200"></span>
    <span>账号密码登录</span>
    <!-- 右边横线 -->
    <span class="h-[1px] w-16 bg-gray-200"></span>
</div>
// 省略 ...
最终效果图如下:
OK, 右边栏的样式布局就搞定了。
左边栏
接下来,再来添加左边栏的内容,代码如下:
// 省略...
<!-- 默认占两列,order 用于指定排列顺序,md 用于适配非移动端(PC 端) -->
<div class="col-span-2 order-2 p-10 md:col-span-1 md:order-1 bg-slate-900">
    <!-- 指定为 flex 布局,并设置为屏幕垂直水平居中,高度为 100% -->
    <div class="flex justify-center items-center h-full flex-col">
        <h2 class="font-bold text-4xl mb-7 text-white">Weblog 博客登录</h2>
        <p class="text-white">一款由 Spring Boot + Mybaits Plus + Vue 3.2 + Vite 4 开发的前后端分离博客。</p>
        <!-- 指定图片宽度为父级元素的 1/2 -->
        <img src="@/assets/developer.png" class="w-1/2">
    </div>
</div>
上述代码中,我们将左边栏的总体背景色设置为了 bg-slate-900, 内容上依旧是 flex-col 垂直排列,并添加了一些描述性的文字,以及一张背景色透明的图片,效果如下:
图片哪里有现成的?
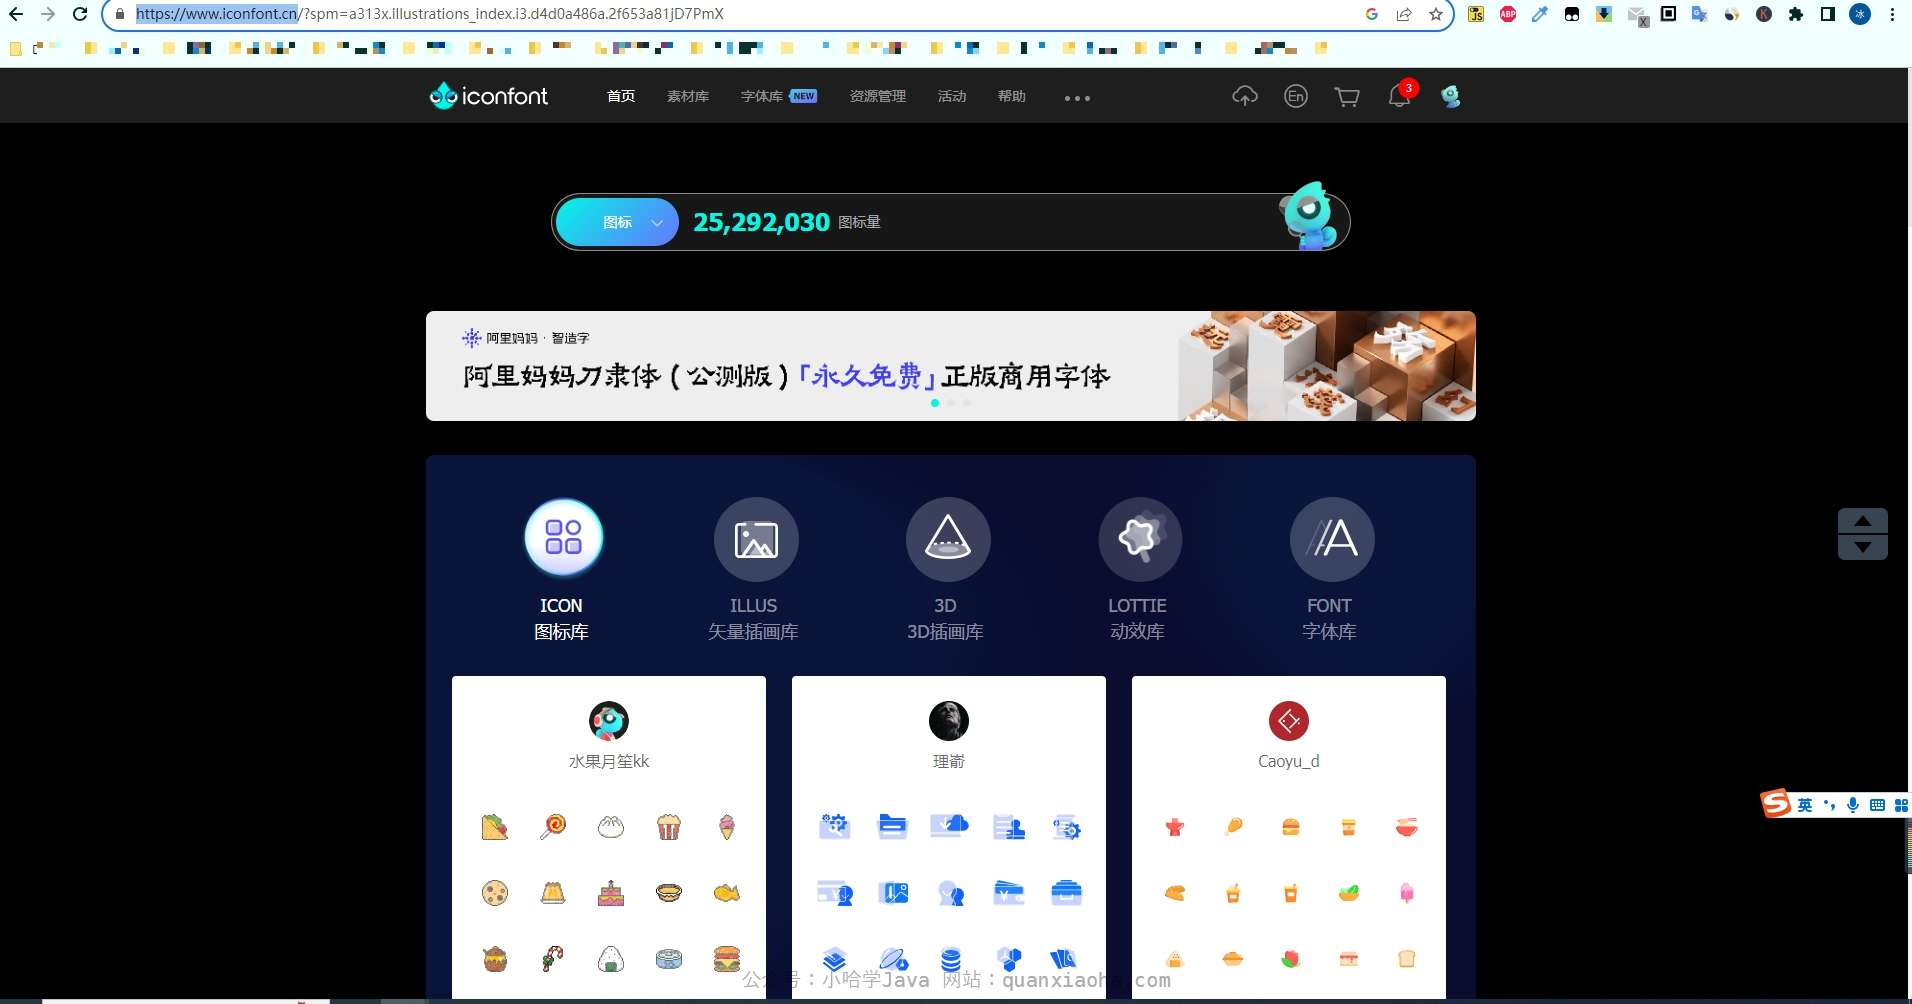
小哈给大家推荐一个阿里的网站: https://www.iconfont.cn/ , 这个网站提供了丰富、美观的图标、插画等资源,大家可自行搜索下载,并使用到自己的项目中:
接下来,我来演示一下,小哈是怎么搜索并下载一个还算好看的插画,并应用到 weblog 项目中。在搜索栏中输入对应关键字,比如 程序员,勾选类别为插画:
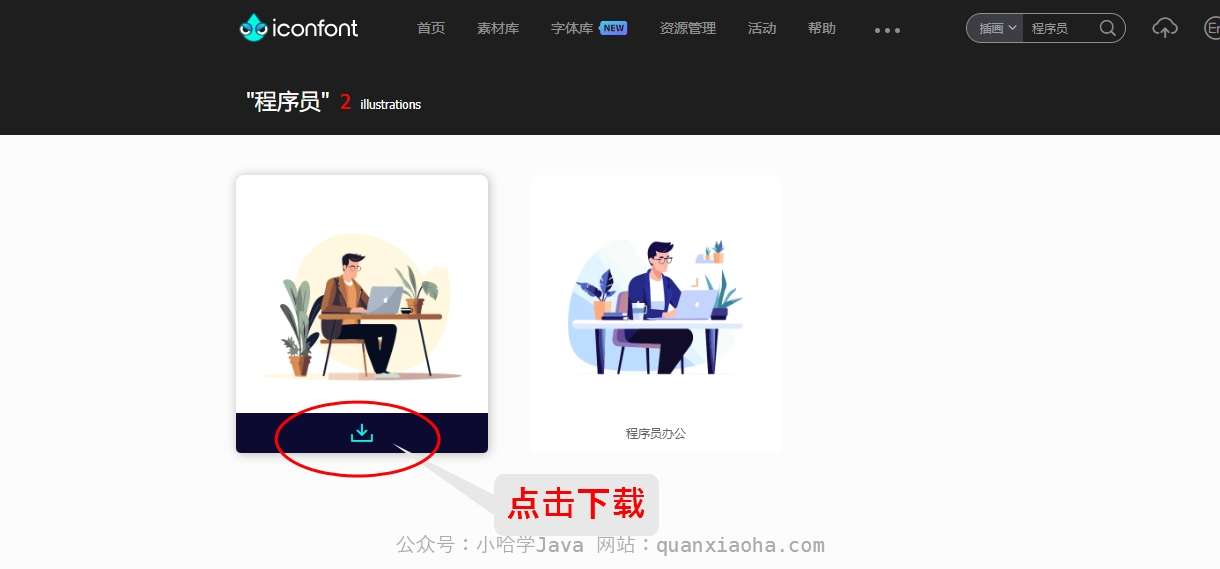
选择一张自己喜欢的插画,点击下载:
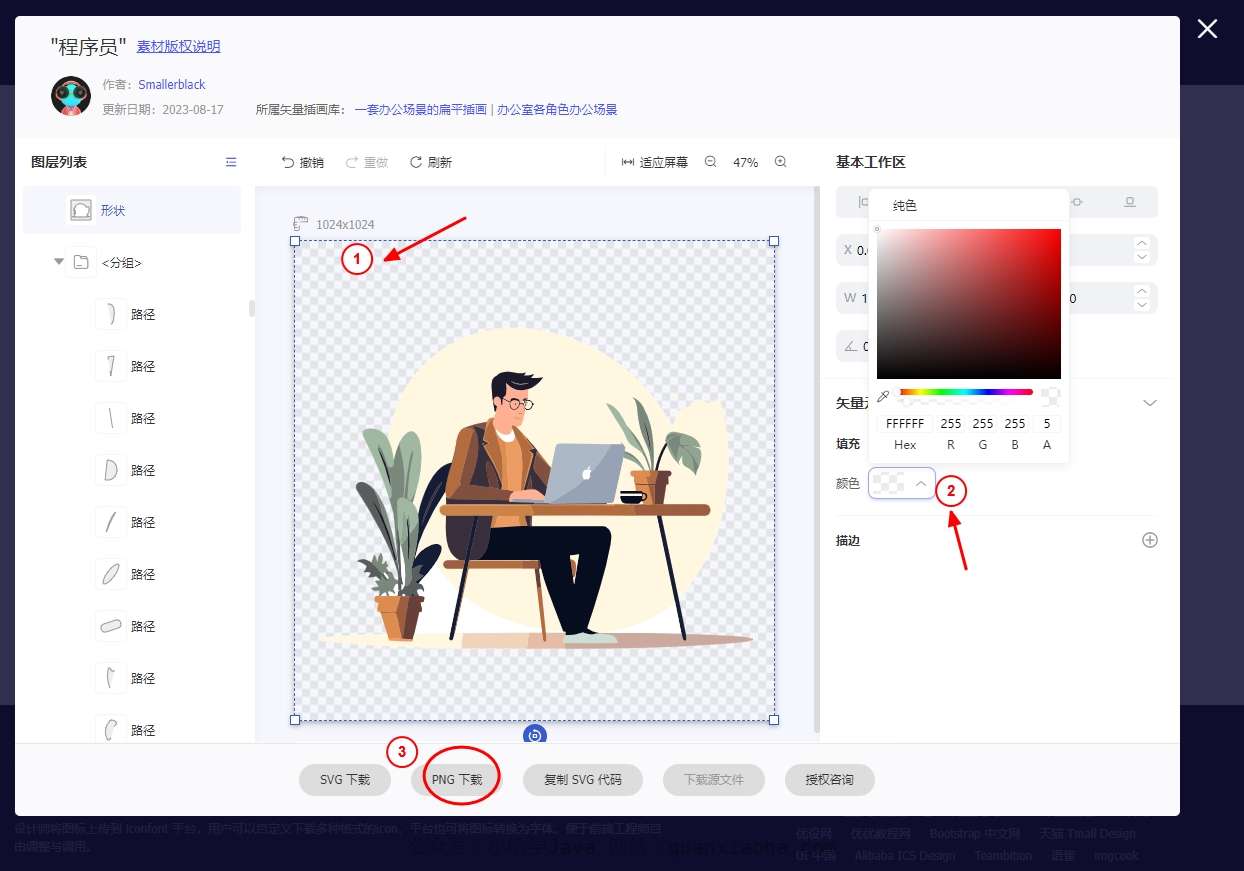
等待加载完成后,点击背景,默认背景色为白色,这和我们想要设置的背景色有冲突,最好是手动将背景色设置为透明,然后点击下载 PNG 图片:
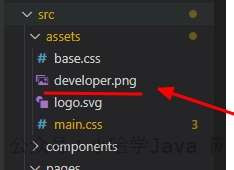
下载成功后,将图片复制到项目中的 assets 文件夹下,这个文件夹主要用于放置相关资源文件,同时,将图片命名为 developer.png ,方便后续管理:
有了图片,后续通过 <img> 图片标签直接引用即可,如下所示:
<img src="@/assets/developer.png" class="w-1/2">
本小节对应源码
结语
到这里,本小节的目标:设计一个响应式的登录页就完成了,目前还只是静态页面,后续还需要和服务端交互,来完成一个完整的登录功能。

